4 Different Ways to Use the Wild & Free Stamp Set
by Lydia Evans June 11, 2020

Hello, Altenew friends! Norine back with you again today with 4 new cards made using the Wild & Free Stamp Set. This is a set that has coordinating dies as well as a masking stencil. However, I used only the stamp set for today's post.
 Let's jump right in!
Card 1
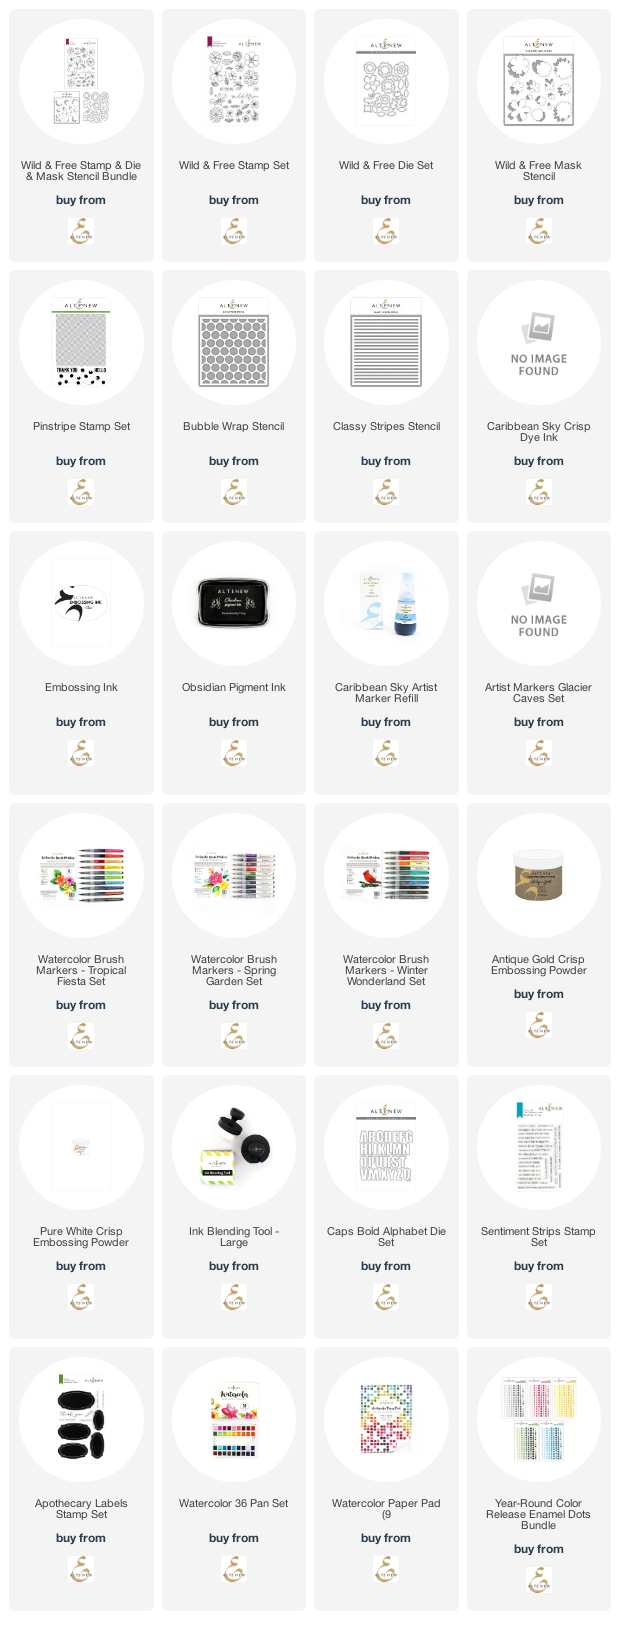
Card #1 is masked and stamped. I stamped several of the flowers on masking paper, cut them out, and used them to build an arrangement of florals and leaves. Because I wanted to gold heat emboss, I stamped each image individually with embossing ink onto blue cardstock, then heat set with Antique Gold Embossing Powder.
Once heat embossed, I used Artist Markers to add a hint of color to the stamped images. I colored carefully, not letting the marker tips touch the embossed lines because alcohol markers and embossed powder don't always play nicely together. I used Caribbean Sky (B002) and Persian Blue (B016) ink markers to blend the colors.
 Next, I traced a horizontal line across the bottom of the stamped arrangement and lightly drew a pencil line to mark where I could cut with a straight edge and a craft knife. I fussy cut the points below that traced line with small scissors. Then, I popped up the stamped portion of the cardstock with foam tape on the back.
 Taking another piece of blue cardstock cut to an A2 card size, I first stamped the Pinstripe background stamp with Carribbean Sky Crisp Dye Ink, then added the sentiment at the bottom with embossing ink and more Antique Gold Embossing Powder. Then, I colored a strip of the same cardstock with the Persian Blue (B016) marker to ensure a perfect color match and adhered all the layers to a card base, and finished the card with some gold liquid drops.
Card 2
 My second card is very simple and is similar to the first, in that I used the same blue cardstock and colors of ink for the stenciling. I also used the same masks to build another floral arrangement of a slightly different design. (With 14 different blooms and 12 different leaf images, the arrangement possibilities are endless!) I stamped the images onto white cardstock and fussy cut the whole design.
 Then, I took another blue cardstock card panel, A2 size, and masked a diagonal line across the bottom. I ink blended with Caribbean Sky Crisp Dye Ink, using the Classy Stripes Stencil for the top and the Bubble Wrap Stencil on the bottom. I stamped the “thank you” sentiment from the Altenew Apothecary Labels Stamp Set with Obsidian Pigment Ink.
 I adhered the fussy-cut image to the card front and added some black enamel dots to complete the card.
Card 3
 Moving right along to card #3! For this card, I stamped assorted leaf and flower images to loosely cover a card panel of smooth cardstock with Obsidian Pigment Ink. The reason I chose to use smooth cardstock is because its surface is perfect for using with Watercolor Brush Markers. Its smoothness allows for a cleanly stamped image, but then also lets you blend the watercolor pigment without absorbing into the paper too quickly.
 I colored the leaves with a mix of pure and diluted Moss Watercolor pigment and the flowers with varying intensities of Desert Night mixed with the teeniest bit of Jet Black paint to “grey it back”. I used a regular paint brush to blend the colors and add deeper shade of color where necessary. On the whole, it was a quick and easy method of filling in the stamped images.
 I then used the Caps Bold Alphabet Dies to die cut the word HUGS from the card panel. I die cut the same letters from white fun foam and adhered the cardstock letters to that. I adhered the card panel, trimmed slightly on each side to a folded card base, then added the letters back into their openings.
 To better help the die-cut and popped-up greeting stand out from the overall design, I used a black Sharpie marker to add random dots to the letters. Then I stamped the “sending you” greeting from the Sentiment Strips Stamp Set onto black cardstock and heat set with white embossing powder, then glued it to the letters.
Card 4
 Lastly, I made a watercolor painted card. I used the textured watercolor paper pad and stamped the butterfly and sentiment from the Wild & Free Stamp Set with embossing ink and heat set with white embossing powder.
 Then, I used the Watercolor 36 Pan Set to paint the background around the stamped and embossed images, letting the paint blend and dry as it liked. Once dry, I added paint speckles with the same colors of paint, then trimmed the card panel slightly smaller than A2 size, and adhered it to a blue cardstock card base.
 I added a mix of colors of enamel dots to complete this card and that is it for me today! Thank you so much for stopping by and have a wonderful day!