A Fall Inspired Project with Raspberry Bliss
by Nathalie DeSousa September 29, 2026

Key Takeaways
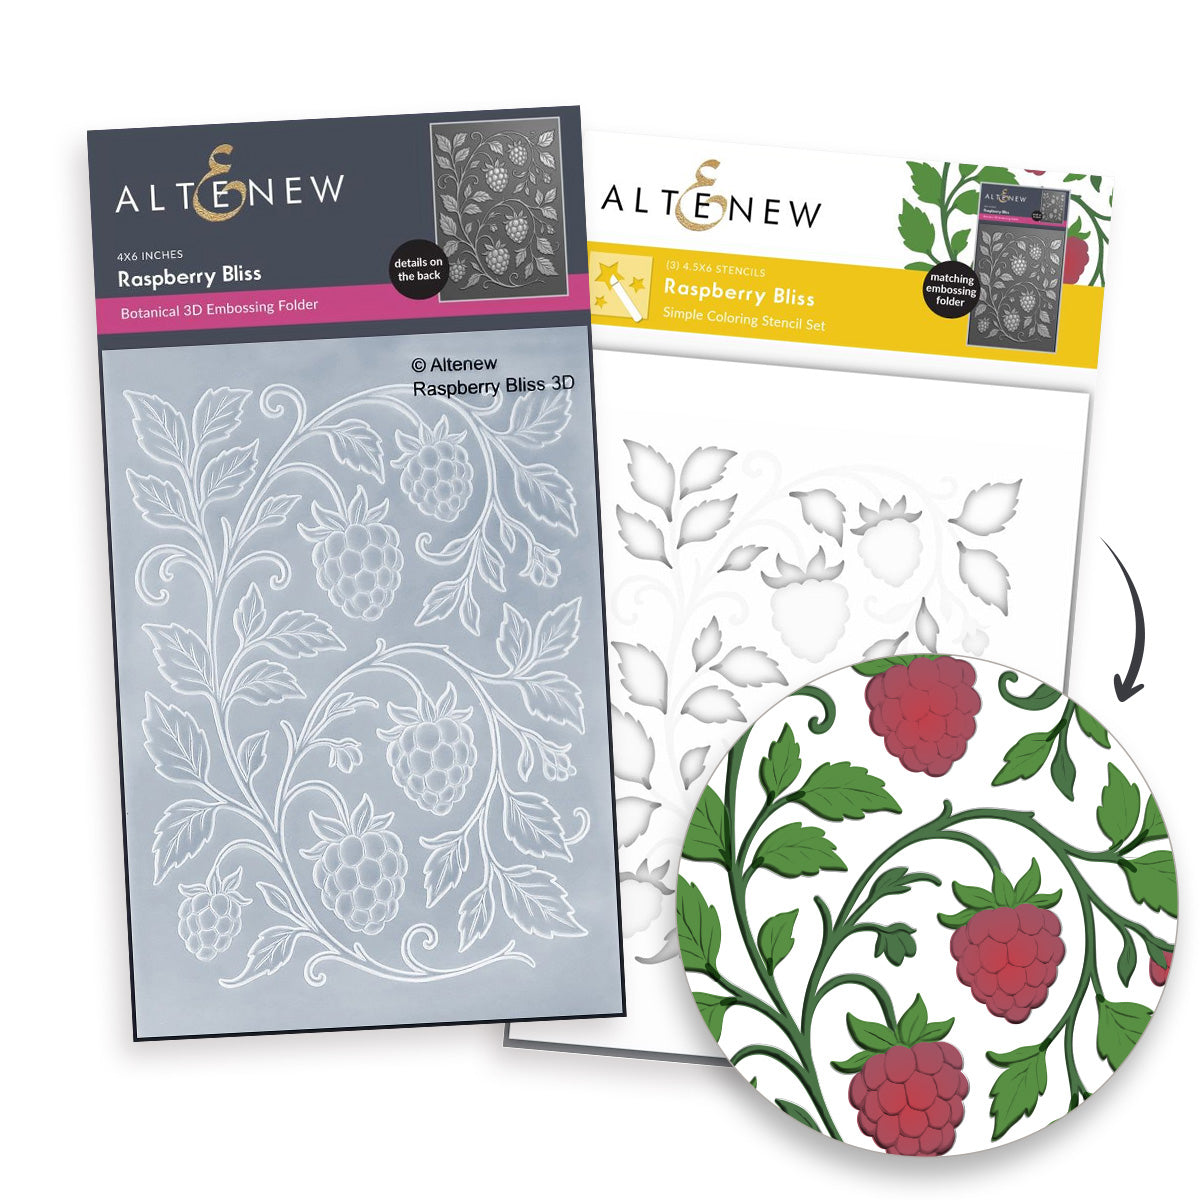
Versatile Crafting Tools: The Raspberry Bliss set combines a 3D embossing folder and a simple coloring stencil that can be used together or individually for rich texture and color.
Dynamic Shaped Spreads: Utilizing the Nesting Arches Die Set in grouped layers allows you to build a continuous, eye-catching shaped journal page.
Mixed-Media Shine: Blending Fresh Dye Inks with Shimmer Relief Paste creates cozy, autumn-toned dimension with a subtle metallic finish.
Hello crafty friends! It's Nathalie here with you today to share a fall inspired project with Raspberry Bliss.
This new 3D embossing folder and simple coloring stencil set are fantastic tools for adding texture, dimension, and visual interest to your paper crafts. What I love most is how each piece in the set functions seamlessly on its own or together to elevate your design.
The detailed image in the Raspberry Bliss set is intricate and elegant, working almost magically on the page. To showcase its full potential, I took the design a step further and created a custom-shaped spread for my annual Gratitude Journal. Let me walk you through how this project came together!

Using Raspberry Bliss in A Creative Way
When planning a fall inspired project with Raspberry Bliss, the goal is to highlight the set's fine details in a captivating way. A shaped card or unique layout frame immediately draws the reader's eye right to the focal point. For this spread, I chose to create a 7 x 9.25 inch panel, giving it the grand feel of a large, custom card front.
To construct the top-right curve, I took advantage of the natural arc in the Nesting Arches Die Set. The trick to maintaining a smooth, continuous flow across the shaped layout is treating the arch die cuts as unified groupings rather than separate pieces.

How to Create the Embossed Arch Focal Point
Cut the Arch Foundations: Use the Nesting Arches Die Set to cut three graduating sizes from sturdy white cardstock.
First Embossing Pass: Stack the two largest arch die cuts, leaving approximately 1.75 inches of offset between their top-left corners. Run them through your die-cutting machine using the Raspberry Bliss 3D Embossing Folder to create the initial impression.
Second Embossing Pass: Separate the embossed arches, then realign the smaller arch approximately 1.75 inches from the bottom-right corner. Pass them through the embossing folder again. Tip: Watch your folder placement carefully to avoid flattening or damaging the previous embossed pattern.
Assemble on Vellum: Using the embossed impressions as a visual guide, line up the arches and adhere them onto a sheet of vellum.
Trim the Edge: Carefully cut away the excess vellum along the top curve of the arches.
Blend the Colors: Add color to the raised areas using the Raspberry Bliss Simple Coloring Stencil Set alongside inks from the Sage Garden Fresh Dye Ink and Tea Party Fresh Dye Ink collections.
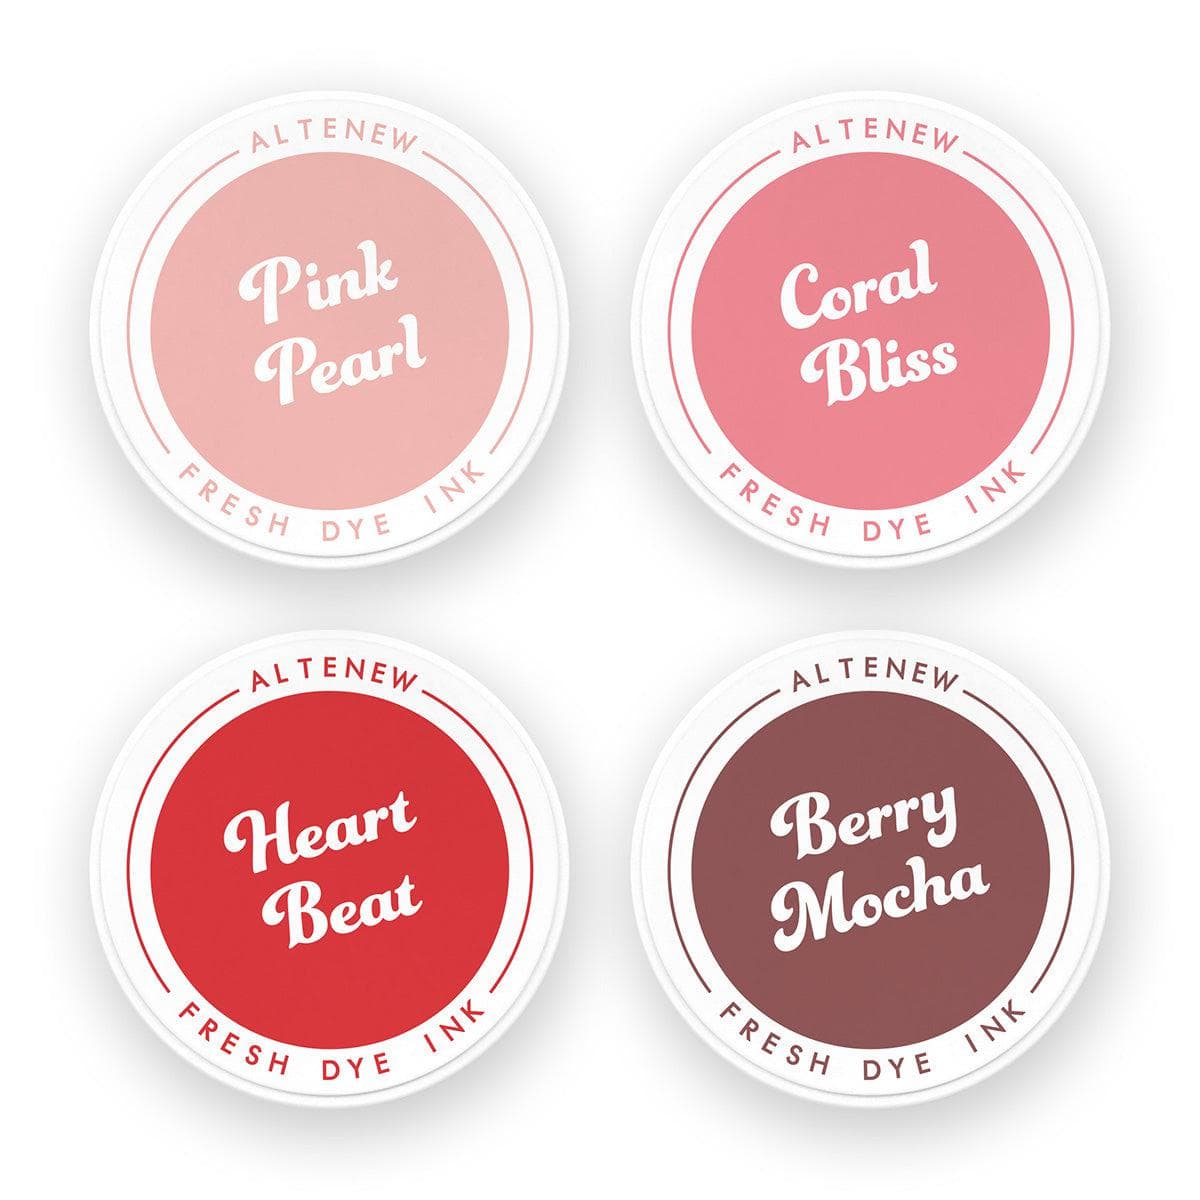
Add Shimmering Texture: Mix Coral Bliss Fresh Dye Ink with Enchanted Gold Shimmer Relief Paste. Lightly brush the paste onto the raspberry embossed areas and set it aside to dry. Tip: Using a firm, stiff-bristle brush helps deposit a touch of shine without clogging or heavy buildup.

More Ideas for a Fall Inspired Project with Raspberry Bliss

To infuse more cozy autumn feelings into your project, balance the light, raised embossed area with warm, saturated tones on the lower portion of the spread. Using a simple coloring stencil makes building this contrast quick and satisfying.
Step-by-Step Lower Panel & Sentiment Assembly
Prep the Base Panel: Cut a 7 x 5 inch piece of Crafty Necessities Pink Sand Cardstock.
Stencil the Background Pattern: Using Parchment Pink Fresh Dye Ink and the Raspberry Bliss Simple Coloring Stencil, ink a subtle, repeating impression across the cardstock panel.
Attach to the Layout: Adhere this stenciled piece to the vellum directly beneath the embossed arches. (Optional: Place a thin strip of decorative washi tape along the seam where the arches and cardstock meet to conceal the edge).
Die-Cut the Sentiments: Use the Timeless Sentiments Holiday Edition Die to cut your title three times from white cardstock, and cut the sentiment offset shadow once from Pink Sand cardstock.
Ink-Blend the Title: Blending Berry Mocha Fresh Dye Ink and Coral Bliss Fresh Dye Ink, add rich autumn color to one of the white title die cuts.
Apply Gold Highlights: Combine Coral Bliss ink with Enchanted Gold Shimmer Relief Paste and apply it to the lower edge of the colored sentiment cut.
Stack for Dimension: Layer and glue the white sentiment die cuts together, placing the ink-blended title on top. Mount the entire stack onto the Pink Sand shadow layer.
Final Placement: Center and adhere the assembled title sentiment over the junction line between the embossed top arches and the stenciled cardstock base.

Final Thoughts
I hope this walkthrough sparks your creativity for your next fall inspired project with Raspberry Bliss! Don't hesitate to experiment with shaped borders, stenciled textures, and shimmer paste to give your autumn journal spreads and cards an extra layer of elegance.

If you recreate this layout or try these techniques, remember to share your work with us—we always love seeing what you craft!

Get a FREE Zanzibar Dual Tip Pens (worth $10.99) on orders over $89 from September 29, 2026 at 12:01 AM EDT until September 30, 2026 at 11:59 PM EDT. Shop here: https://altenewsnap.com/collections/all-the-paper-crafting-supplies-you-need
Until supplies last
Supply list
|