VIDEO: An Exciting and Creative Way to Use Your Coordinating Dies! | Creative Coloring with Erum
by Erum Tasneem August 3, 2020

Hello, friends!
Erum here with a new card featuring the Wild and Free Die Set which I have used to create 3D florals for my card.

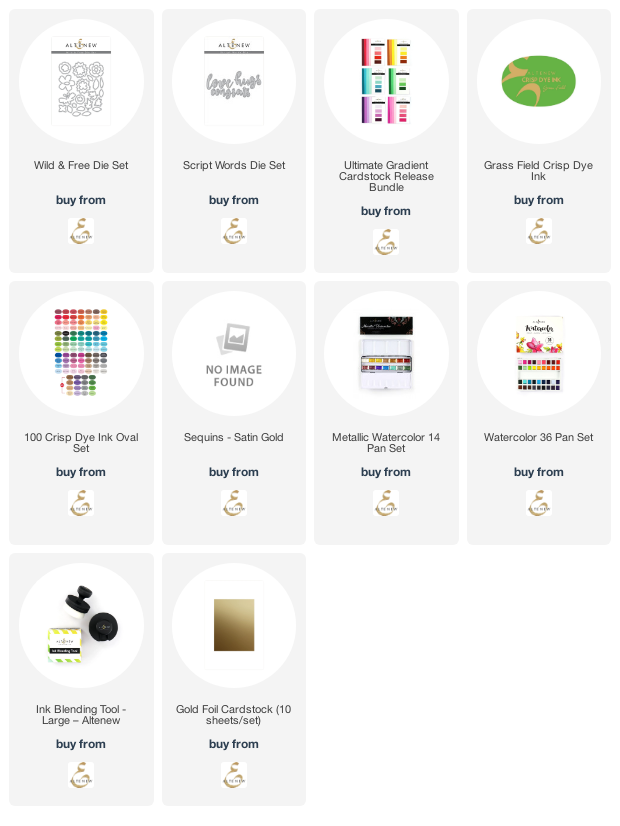
So, I started by die cutting several flowers and leaves out of various cardstock papers from the Ultimate Gradient Cardstock Pack. You can choose whichever colors you want; you can even use one pack of gradient cardstock for your flowers. I chose to go with multiple colors as I wanted a colorful bouquet.
After die cutting, I inked the edges of all the pieces with Altenew Dye Inks. For the inking, I chose the shade that was a shade darker than the cardstock. Once done, I used whatever tool I had to curl the flowers (watch the video for this part) and then glued the layers together. Also, I doodled flower centers with a black pen.

For the background, I started by ink blending Grass Field Crisp Dye Ink in the center with the Ink Blending Tool. Next, I added black paint splatters from the 36 Pan Watercolor Set. Then, I adhered flowers to the panel with foam tape and glued the leaves directly. After this, I added splatters of white and gold paint from the Metallic Watercolor 14 Pan Set.

For the sentiment, I die cut the word “hugs” from Script Words Die Set in Gold Foil and black cardstock. I use the black one as an offset to the gold and glued them together. Then, I adhered them over my floral bouquet.
To finish, I adhered a few Satin Gold Sequins.
You can watch the video below to see how the card came together or on YouTube.
I hope the video inspired you and you will look at your coordinating dies with fresh eyes and a new perspective! Thank you for stopping by. See you next week!
~SUPPLIES~