How To Use Every Single Stamp in Your Set
Hello, Altenew friends! This is Virginia here. Are you loving the stunning projects from the Design Team and Guest Designers? Did you happen to notice the new Hello Hydrangea Stamp Set? I am here to show you how I used every stamp in this set.

In case you miss seeing it, I am excited to share my how-to on using every single stamp from this set. This set comes with beautiful outlines and meaningful solid stamps for sentiments. There are a few cute small stamps that will make your projects a stand-out!

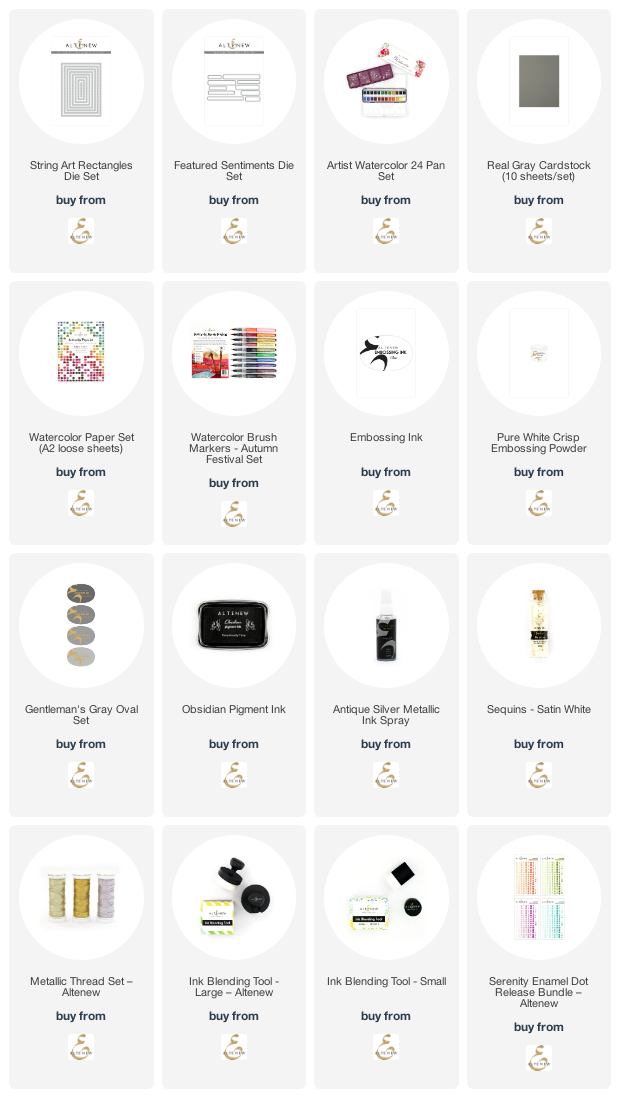
For the first card, I started with white embossing the hydrangea with Pure White Crisp Embossing Powder. If you miss part of the embossing, you can stamp the hydrangea with Embossing Ink again as long as you have the stamp positioned in the MISTI. And that is how I ensure that I have clear and prominent white embossing. The String Art Rectangles Die is excellent for framing image and provides subtle edge details.

I took out the Artists' Watercolor 24 Pan Set and started the coloring process. The key to successful watercoloring is using great quality watercolor paper such as the Altenew Watercolor Paper Set (A2). The paper allows you to layer color and will not warp easily. Thus, it is therapeutic and stress-free!

I painted an extra piece of paper with the same color as the background (Seashore). After stamping the sentiment, I then die cut it with Featured Sentiments Die. For the embellishment, I added silver Metallic Thread Set.

My next card features one of the smaller stamps of the hydrangea. I kept the color combo super simple – just pink and gray.
 The Coordinating Die sure makes a difference in this design. The pink hydrangea was stamped in pink (Baby Pink, Rouge, and Rubellite Crisp Dye Inks), and gray (Gray Denim and Cloudy Night Crisp Dye Inks). I lightly colored the image with the Ink Blending Tool.

I popped up the largest stamped and die-cut hydrangea flower. It was so much fun to add the splatter (Antique Silver Metallic Spray) and sequins (Satin White).

To keep the theme cohesive, I stamped the sentiment in Cloudy Night over the pink hearts! Is this card charming?

My 3rd card has all the smaller stamps in this set. I started with creating my own watercolor paper. The Watercolor Brush Markers are great for this.

I used Autumn Festival Watercolor Brush Markers because it has these amazing colors: Ultramarine and Ultraviolet. When the colors are mixed, blended and dried, then magic happens!

For the focal point, I stamped “thanks” in Obsidian Pigment Ink. After arranging all the die-cut pieces around the sentiment, I popped a few up with foam tape for interest and dimensions.

To make the images pleasing to the eyes, I aimed for the visual triangle and arranged the pieces accordingly.

I filled up the tiny spaces with Serenity Enamel Dots and droplets of Liquid Glue.

I hope that you enjoy today's post and perhaps pick up a few tips to try out. Better yet, treat yourself with this set of Hello Hydrangea. Thank you for stopping by!