5 Card Making Tips for Using Layering Dies
Hello, Altenew friends! This is Virginia here. Have you seen the latest Craft-A-Flower: Daisy Layering Die Set yet? Yesterday's release blog hop was quite an eye-opening experience for me. There are so many creative ideas on using this amazing die set. This Craft-A-Flower: Daisy 3D Die is so easy and fun to work with and who doesn't love a daisy? It's bright, happy…and summery. I'm excited to share multiple ways of using the Craft-A-Flower: Daisy. Hope you are ready…. here we go!

There are many ways of adding gorgeous and vibrant colors to the flowers and leaves. I am breaking it down with various mediums and you will, hopefully, get some inspiration on using 3D dies like this.
1. Use Spray Mist
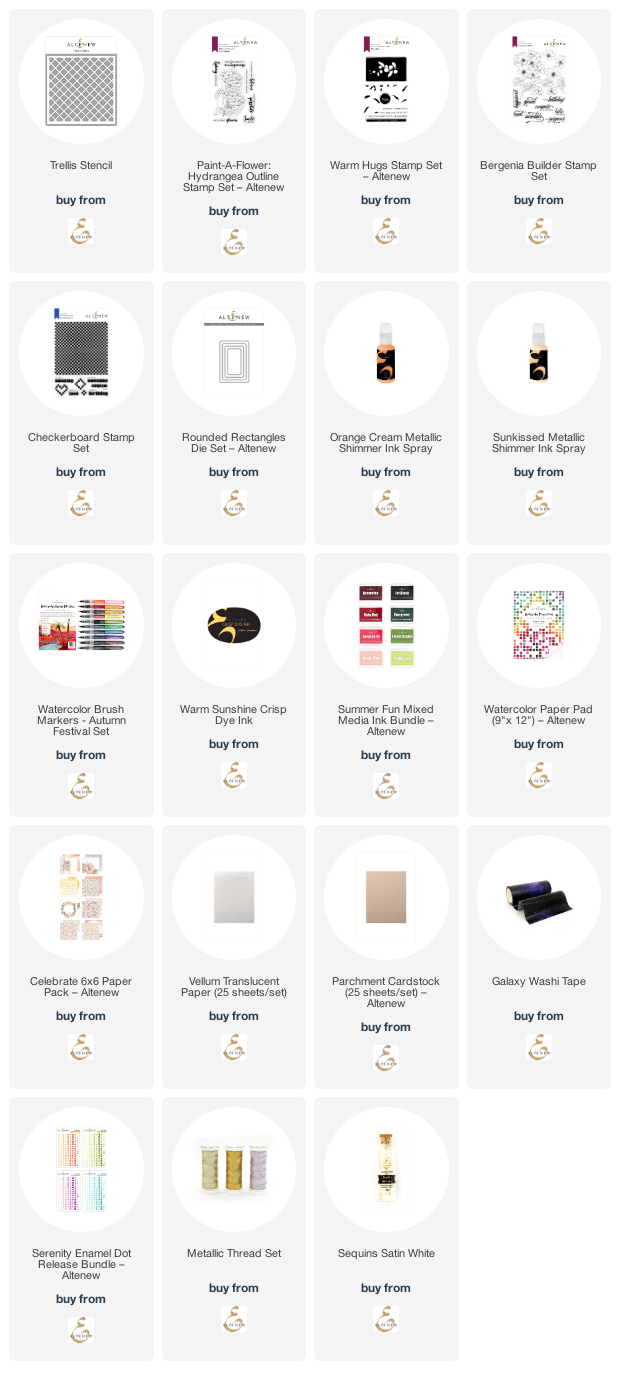
For my first card, I simply applied Ink Spray (Sunkissed and Orange Cream Metallic Shimmer Ink Spray) over Watercolor Paper. Once dry, you can die cut out all the pieces and arrange. The result is not too shabby, eh?
 2. Use Watercolor Brush Markers
First, I die cut the pieces and then colored the daisy with the Autumn Festival Watercolor Brush Watercolor Markers. This is likely the simplest way and least messy way. You can also use ANY of Altenew's Watercolor mediums for this method.

For the embellishment, the new Serenity Enamel Dots can make anything instantaneously gorgeous. Lastly, the Galaxy Washi Tape provides such a sharp contrast to the daisies!

Do you know that you can also use the Mixed Media Ink for inking up the daisies? Here I used them for color highlighting. The sentiment from Paint-A-Flower: Hydrangea Outline Stamp Set describes this card perfectly, too.

You may have noticed how easy it is to line up the petals and leaves. This card did not take long to create at all .

3. Use White Cardstock and Vellum Transparent Paper
Make two sets of daisies and leaves with white cardstock and vellum paper.

The white daisies look absolutely exquisite thanks to the vellum. In fact, you do not even have to line them up and they will look fabulous! I cut up stripes of patterned paper (Celebrate 6×6 Paper Pack).

I inked up with Warm Sunshine Crisp Dye Inks for the flower center. See the dark brown textures? They are from your coffee ground powder! This look is quite organic and natural. I covered them with glue (such as Glossy Accent) and they will not dissolve and they also smell great!

The stripe of sentiment from Warm Hugs Stamp Set grounds the designs. I love how easily this design came together.
4. Use Patterned Paper and Parchment Cardstock
Challenged by floral paper? Say no more. This busy patterned paper is ideal with a die like this.

I also love the grey paper from Celebrate You Paper Pack to use as leaves! The Rounded Rectangles Die Set really frames the designs nicely in this.

The sentiment (Bergenia Builder) was stamped within the frame to keep this design more polished and clean. The glitter center really makes the card shine!

5. Use Patterned Paper and Vellum
Here comes the bonus card! With the two die-cuts from the last card, I ended up with a negative piece of patterned paper.

I came up with another card. With the inlaid die-cut (insert the white cardstock into the patterned paper), you then have a smooth background. The vellum daisies truly are lovely and easy to make!

I decorated the the daisy with Satin White Sequins and Enchanted Gold Thread. The bold sentiment (Checkerboard Stamp Set) completes the card!

As you can see, the options are endless, and it's really up to you to use this innovative 3D Die. I want to thank you for checking out today's long post. Your thoughts and comments are always appreciated. Have a beautiful day!